
Verifying a site with Google Webmaster Tools gives you access to reports about that site’s visibility in search results and ensures that your site is indexed by Google on a faster and more regular basis.
Setting up an account with Webmaster Tools isn’t an absolute necessity, but it’s a smart way to monitor your search ranking.
You can find Google Webmaster Tools here: https://www.google.com/webmasters
1. Log in or create an account #
Login at the link above (if you already have a Google account) or create a Google account (if you don’t already have one). Any Google account – like a Gmail or G Suite email address – will allow you to log in.
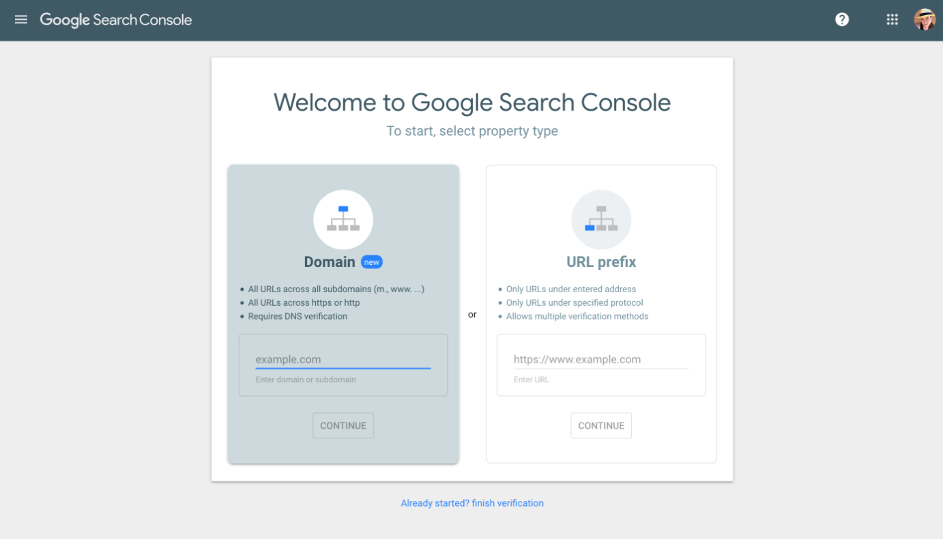
2. Choose Property Type #
The first step is to choose what’s known as a “property type”. There are two options:
- Domain: Use this property type if you own your domain name. This will cover all variations of your domain, including any subdomains.
- URL Prefix: Use this property type if your website is published to a free subdomain, like mywebsite.weebly.com or mywebsite.square.site.
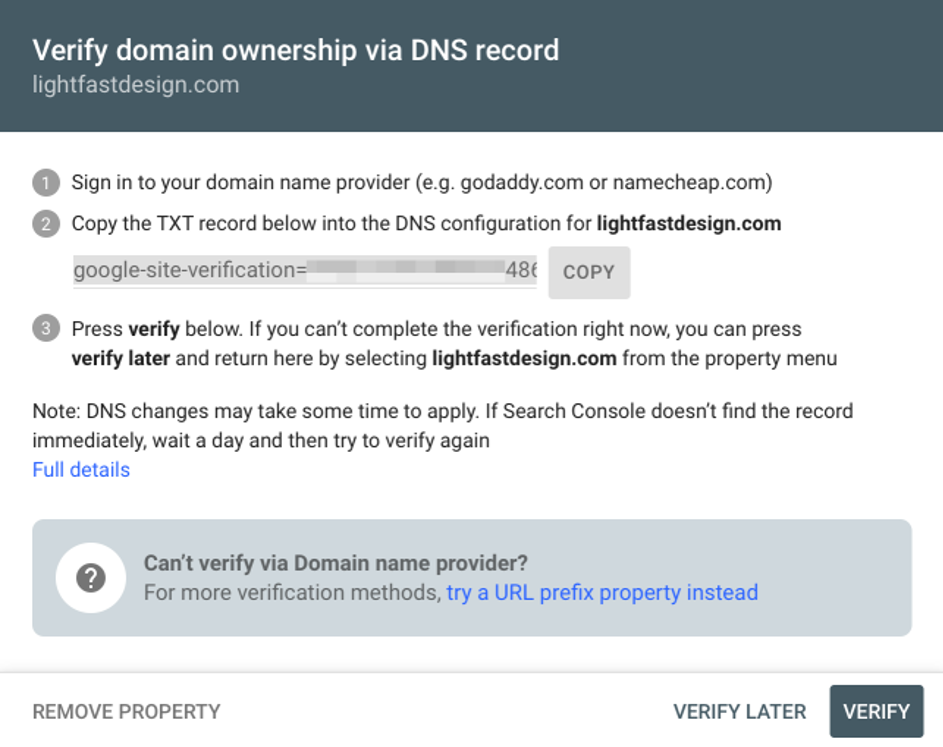
3. Verify yourself #
Next, you’ll need to verify that you own the website or domain name in question. This process differs depending on which property type you selected.
To verify ownership of a domain property, you will need to create a TXT record for the domain using the value Google provides. If you are not sure how to add a TXT record, contact your domain registrar and ask them for assistance.
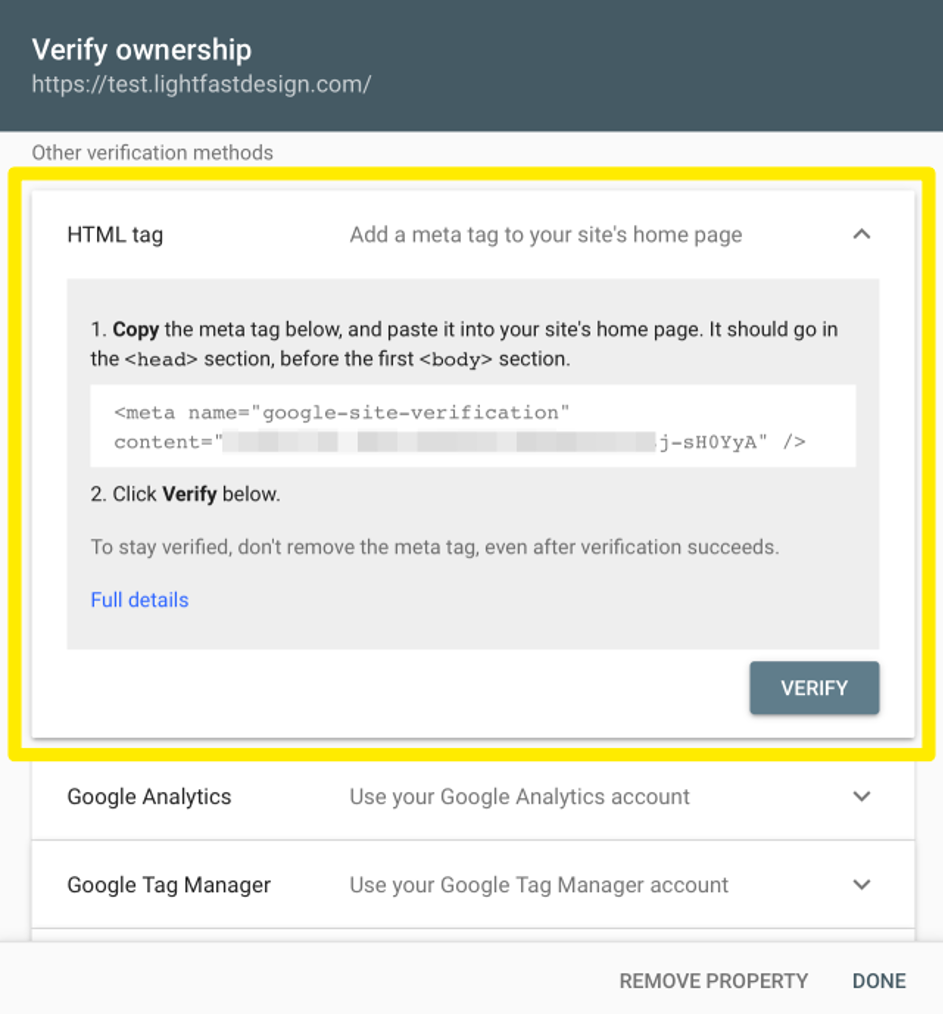
Google offers several methods for verifying ownership of a URL prefix property, but the HTML tag method is the simplest.
Scroll down to the “Other verification methods” section and click HTML tag to expand the panel. Copy the code that Google provides and paste it into the header section of your site in the settings. Save, then publish your website.
Once you’ve done the first part of the verification, return to Google and click the Verify button to complete the process. If you closed the window, you can simply go back to the main Webmaster tools page and use the “finish verification” link at the bottom of the page.
Note: If you used the domain property type, you may need to wait an hour or two for the DNS records to propagate before completing the verification process.
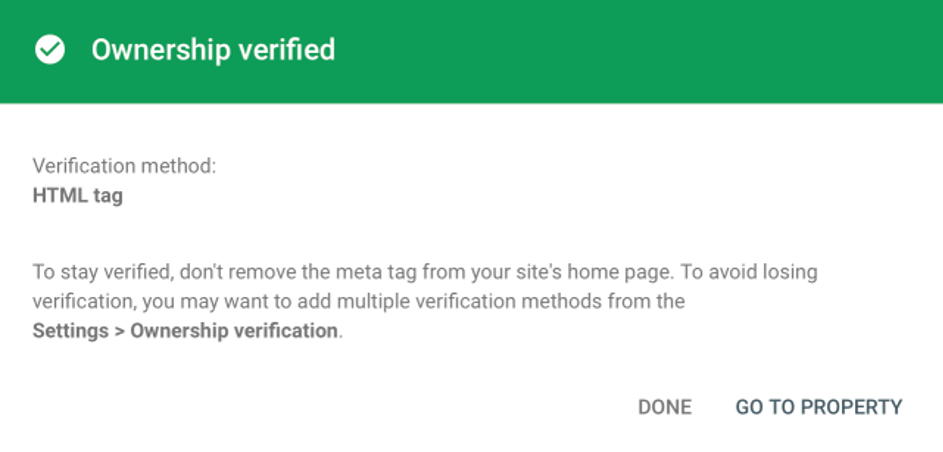
If everything is correct, you’ll see a message like the one above. If there’s an error, make sure that your site is published and that you’ve allowed enough time for the DNS records to propagate (TXT record method), then try clicking verify again. When you see the verification confirmation message, click Go To Property to open Google Search Console.
4. Add your Sitemap #
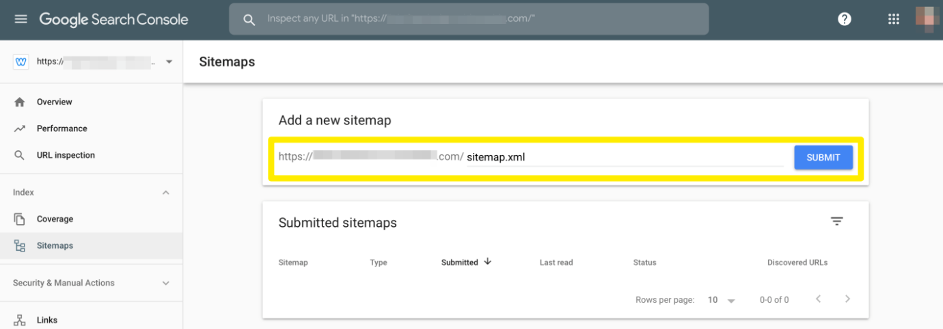
The next step is to add your sitemap. Click the icon in the upper left to open the menu, then click on Sitemaps. A sitemap is created automatically for every website hosted with Weebly. The filename for the sitemap is always sitemap.xml, so enter that into the “Add a new sitemap” field and click submit.
All done!
Google Webmaster Tools has a lot of cool features to play around with after you’re verified. These features can help you see how well your site is ranked. You don’t have to use them (verification is the only significantly important thing to do here), but they’re there if you want to check them out. Google provides a FAQ that covers all the features: https://support.google.com/webmasters/answer/1050724?hl=en


